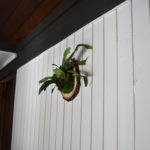
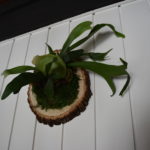
I have wanted a wall hung staghead fern for an eternity. I don’t remember exactly where I was when I first saw one, but I know over the years I have seen them everywhere. I’ve gazed upon a lot of them at Longwood Gardens and have seen them in magazines and blogs and of course on pinterest. Most recently I was going to buy one at the Philadelphia Flower show on Sunday, but then saw the plant by itself for less than 1/4 of the cost of a wall mounted one. Knowing that I was staring down a week of “me time,” I knew I had to DIY it. I googled and found these wonderful directions, which is basically what I followed. I ended up using floral wire instead, but it’s the same technique. The directions are from Gardenista, and if you haven’t read this blog yet, you’re in for a real treat!

Supplies:
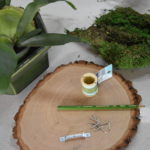
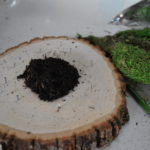
-wood to mount your plant to (I used a wood slice from a craft store, but you can use anything)
-moss
-hanger for the back of the wood (or two nails with a hanging wire)
-nails
-floral wire, or fishing line
-pencil
-hammer
Directions:
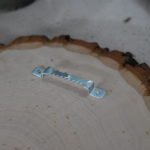
- I found it easiest to start by adding the hook to the back, so you’re not trying to do it with the plant hanging on one side. Add the hook according to directions of what you are using. I just needed to nail in the two small nails that came with the hook.
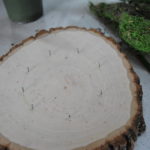
- On the front side, mark a round shape that is about an inch and a half larger than the plant base, on add sides, with a pencil.
- Nail the nails around the circle. I used about 8.
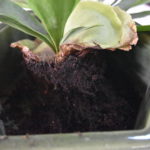
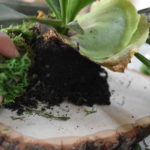
- Take the plant and slip it out of the pot. Then untangle the root ball to remove some of the dirt that is around the roots. I removed about half of it.
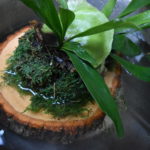
- Place a small amount of dirt in the middle of the circle and place the plant on top. Move the dirt around so that it is making a mound of dirt.
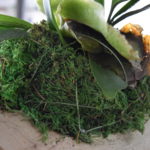
- Cover the plant base (dirt, roots and some of the bottom flat fonds) with moss. I wanted to use moss from my garden, but there is a few inches of snow and ice out there, so I bought some at the craft store.
- Wind the wire from one nail, up and over the plant and secure around another nail on the opposite side. Wrap it around each nail a couple of times and then move across to another nail. Keep going until the plant is secure.
- Place the plant and wooden board in a container of water and submerge. Let it fully dry.
- Hang it up on your wall to enjoy. From what I read it will need a weekly soak, but be sure they dry out between waterings.
Let me know if you try this DIY project and how it turns out!
0 Comments